
- Description
- Requirements
This is a beginner's course in Zentangle, from drawing and creating your own Zentangle designs through to stitching them out. If you think you cannot draw, then don't let that put you off. Drawing skills are not required.
As a Certified Zentangle Teacher (CZT) Lee Vause will give you lots of support and direction in this “A Zentangle Journey - Part One” workshop. This class will include the origins of Zentangle in its pen and paper-based form to include a little of the history leading to drawing on tiles and onward. Then use your own creations of Zentangle inspired artworks to transform them with free motion quilting onto fabric with thread. Being familiar with free-motion quilting is recommended.
This class can be followed by a more advanced class "A Zentangle Journey part 2". You can find more details about that here: A Zentangle Journey part 2
Note: Once purchased, you can access the class data any time, 24 hours a day and you get immediate access. (if you don't have an account we suggest you sign up for one prior to purchase)
Time Duration applies only to teacher access for your question and answer duration.
Outline
Lesson one:
- What is Zentangle® - The Origins of Zentangle
- How does Zentangle relate to Free Motion Quilting?
- Zentangle Terms
- Products Required
- Seeing Patterns
- Let’s consider Tangle patterns
- What’s next?
- exercise one
- exercise two
- exercise three
Lesson two:
- Manmade patterns flora and fauna to draw your Zentangle tile
- Getting Started
- Basic Strings
- Bales
- Crescent Moon
Lesson three:
- Pens and Pencils for Transferring Designs
- Transfer Techniques
- Light Box
- No Guideline Transfer
- Permanent Pen Transfer
- Water Soluble Products
- Carbon or Transfer paper
- Creating a String Directly on Fabric
- Understanding Your Sewing machine
- Cleaning Your Sewing machine
- Preparing a Quilt Sandwich
- Needles
- Threads
- Quilting Tangle Patterns
- More Tangle Patterns (drawn and quilted)
- Munchin
- Fescue
- Echoism
- Sedgling
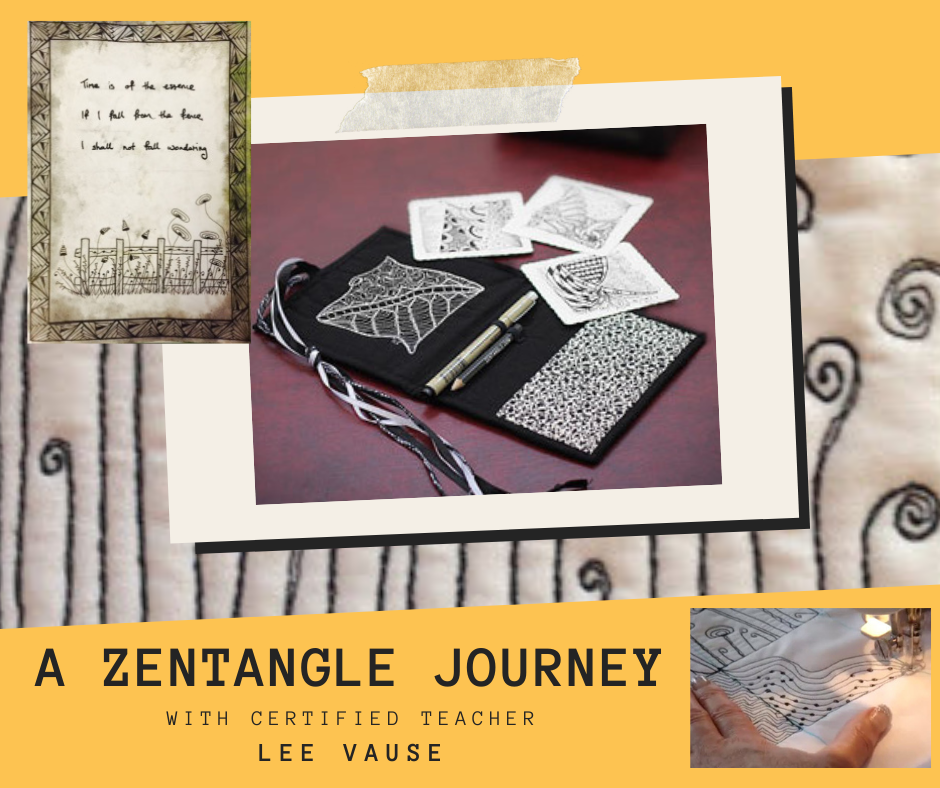
- Project: Zentangle Wallet
Lesson four:
- Stitching out Your Zentangle Inspired Art Work
- Creating Your Project
- Quilted Patterns
- Bales (drawn in lesson two)
- Beadline (drawn in lesson two)
- Emingle or Ambler which is a newly introduced pattern and
- Static another newly introduced pattern
- Summarising
Supplies Required for Workshop
Basic Zentangle Kit for paper based drawing class
Please note you may prefer to read through lesson one before purchasing any items as Lee explains what these items are.
- Zentangle tiles 3.5” x 3.5” preferred however not essential. Other items that can be used include a good quality drawing journal/sketchbook of a weight around 150gsm
- A fine black liner pen of about 01 / .25mm size (preferred choice Sakura Micron Pigma Pen)
- A small blender
- A HB pencil
Zentangle Wallet – Lesson 3 (optional project)
Materials:
- Black or White plain cotton fabric for wallet. Cut 2 - 13” x 8”
- Colour fabric of choice for wallet insert. Cut 1 - 8” x 8”
- Heat N Stay Fleece fusible type product for wallet sandwich. Cut 1- 13” x 8”
- Fusible web for wallet insert. Cut 1 - 8”x 8”
- 2” length of elastic (white or black) approximately ¼” wide for securing pen and pencil inside wallet
- Black or White thread i.e. opposite to your chosen colour of fabric. As a note I prefer an embroidery thread for the actual zentangle and normal thread for the construction of wallet
- Binding fabric of choice. Cut 2 ¼ ” wide x approximately 50”
- Selection of ribbons of choice
Tools: As per personal preference however the following items are listed as normal tools required for any sewing project of this nature
- Domestic Sewing Machine in good working order and able to free machine embroider with a darning foot and feed dogs dropped.
- Applicable sewing machine manual in case of a mechanical machine problem.
- Sewing kit to include, pins, scissors, tape measure, rotary cutter and small cutting ruler
- Blue erasable pen or similar for drawing/marking. Note when using black fabric a silver or white pen such as a sewline pen is required.
- Spray starch for pre-shrinking fabric
Lesson 4 project
Materials:
- Black or White plain cotton fabric as quilt top cut to size as desired
- Heat N Stay Fleece fusible type batting/wadding product or other type of personal choice. Cut to approximately 1’’ bigger on all 4 sides that quilt top.
- Black or White thread i.e. opposite to your chosen colour of fabric. As a note I prefer an embroidery thread for the actual zentangle and normal thread for the actual construction of top ie patchwork and binding
- Binding fabric of choice. Cut 2 ¼ - 21/2”
Tools:
- As per personal preference however the following items are listed as normal tools required for any sewing project of this nature
- Domestic Sewing Machine in good working order and able to free machine embroider with a darning foot and feed dogs dropped.
- Applicable sewing machine manual in case of a mechanical machine problem.
- Sewing kit to include, pins, scissors, tape measure, rotary cutter and small cutting ruler
- Blue erasable pen or similar for drawing/marking. Note when using black fabric a silver or white pen such as a sewline pen is required.
- Spray starch for pre-shrinking fabric